
Guide to Help You with Catalog Printing
2024-07-23
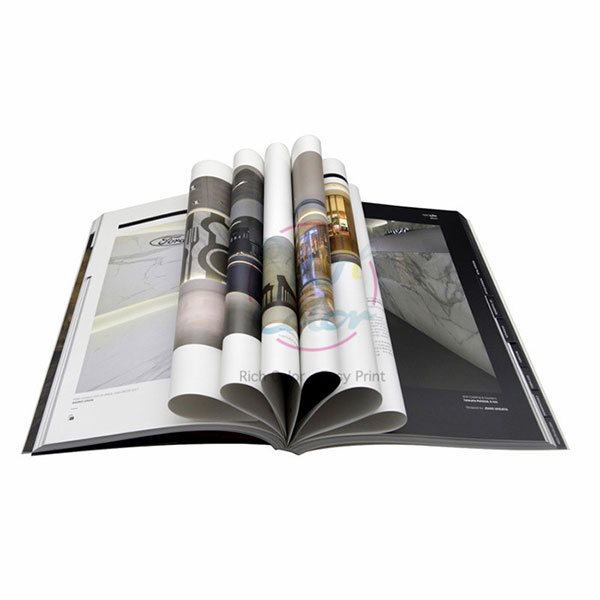
Catalog printing is a key component in marketing and sales, providing a detailed overview of products, services, or offerings. Here’s a comprehensive guide to help you with catalog printing:
1. Designing the Catalog
- Software: Use design software such as Adobe InDesign, Illustrator, or Photoshop. For simpler projects, Microsoft Publisher or Canva can also be effective.
- Layout and Structure: Plan the catalog layout carefully. Include sections for different categories, an index, and a table of contents. Ensure a clear, organized structure to facilitate easy navigation.
- Resolution and Quality: Design at a high resolution (300 DPI) to ensure crisp, clear images and text. Use CMYK color mode for accurate color reproduction in print.
2. Content Preparation
- Images and Graphics: Use high-quality images and graphics. Ensure they are properly sized and optimized for print. Provide product descriptions, pricing, and other relevant information.
- Proofreading: Review all text for accuracy, grammar, and spelling. A well-proofread catalog reflects professionalism and helps avoid costly errors.
3. Choosing the Paper and Binding
- Paper Type: Choose a paper type that complements your catalog’s purpose. Options include gloss or matte finish, coated or uncoated paper, and varying weights. Glossy paper is often used for vibrant images, while matte paper can give a more sophisticated look.
- Binding Options: Common binding options include saddle stitching (staples), perfect binding (glue), spiral binding, and wire-o binding. The choice depends on the catalog’s thickness, durability needs, and aesthetic preference.
4. Printing Methods
- Digital Printing: Ideal for short runs and quick turnarounds. It’s cost-effective for small quantities and offers high-quality prints.
- Offset Printing: Best for large print runs. It provides high-quality, consistent results and can be more economical for bulk orders.
- Large Format Printing: For catalogs with larger pages or special formats, large-format printing might be necessary.
5. Pre-Press and Proofing
- Proofs: Request a proof before the final print run to check for color accuracy, layout, and overall appearance. This step helps catch any issues before the full production.
- Bleed and Trim: Include a bleed area (extra image area) in your design to prevent white borders after trimming. Ensure that all text and important elements are within the safe margin to avoid them being cut off.
6. Printing and Finishing
- Print Run: Place your order with a printing company or local printer. Specify the quantity, paper type, binding, and any special finishing options like embossing or foiling.
- Finishing Options: Consider additional finishing touches such as UV coating, lamination, or die-cutting to enhance the appearance and durability of your catalog.
7. Distribution
- Packaging: Package catalogs carefully to prevent damage during shipping. Consider using protective sleeves or boxes for bulk orders.
- Mailing: If mailing catalogs, ensure they are properly addressed and consider using mail tracking services to monitor delivery.
Resources for Catalog Printing
- Online Print Services: Websites like Vistaprint, Printful, or FedEx Office offer custom catalog printing services.
- Local Print Shops: Check with local printers who can provide personalized service and advice on materials, binding options, and finishing touches.
By following these steps, you can produce a professional, high-quality catalog that effectively showcases your products or services and engages your audience.